Silent Night Advent Calendar
Every year Mr L and I buy advent calendars for each other. They tend to feature beer for him and toiletries for me and are in general expensive for what you get. I thought we’d get back to more of what Christmas is all about – being thoughtful, making something for them, spending quality time with them or giving a gift that doesn’t cost any money, like cooking them their favourite meal or just going for a walk in a favourite location. We aren’t religious at all but I love the magic of Christmas and feel it can get overtaken by massive spending. So, I decided to make an advent calendar that we can fill for each other for years to come. One of us get to fill the odd days, one the evens, for the other to open (Mr L has bagsied the even days this year so he’s got an extra day to think of ideas!). The idea is that we would normally have 11 months to come up with ideas for gifts, maybe from somewhere we’ve visited or inspired by something we’ve done during the year however this year it’s all a bit last minute as I’ve only just finished it, so there’s some frantic googling going on for ideas! Here’s how I made it.
I used a fabric panel from Makower UK called Silent Night. The instructions are printed at the top, the middle section is the main body of the calendar and the bottom section is the pockets.
I started by cutting out the pockets and hemming the top edge. I then ran the side and bottom edges through the overlocker to stop any fraying.
The next job was to press the pocket sections into box pleats down the edges of the houses to form each pocket and then sew in place on the calendar.
Once all the pockets were completed, I cut out and piece of quilt batting and a piece of backing fabric and stuck the three layers together with spray baste adhesive (Odif 505) to form my quilt sandwich. The batting provides more stability to the project when it’s hung up and filled with gifts. To quilt, I just did straight line quilting around the borders and the pockets since it was just a case of holding the layers together rather than to produce a decorative effect. After this, I squared up the quilt by cutting the edges down to the finished size of the calendar, taking into account the pattern on the panel.
I then had to think about how it was going to hang. I attached a length of ribbon to the top for hanging but a length of dowel was needed to hold the top edge straight. I was going to sew on a pocket on the back at the end for the dowel but decided that, since I had a pocket already from my quilting, I’d use the top holly border section as my in-built pocket. I cut a piece of dowel about ¾” less than the width of the holly border, unpicked a section of the quilting and fed the dowel into the pocket.
It needed a bit of wiggling due to the spray basting but went in without any problem.
Note: If you don’t want to have to faff about changing feet on your sewing machine, sew a pocket on at the end. I had to use my zipper foot to be able to sew around the edges and side of the dowel.
Next, I made some binding for the edges. It doesn’t need to be bias binding as it’s straight edges – bias binding is needed for curves. I cut strips of my backing fabric 2¼” wide and joined them using a diagonal seam as this spreads the bulk of the join around the edge of the quilt when it’s folded over to the back and avoids a big hump where the joins are.
Once the strips were joined, I pressed the binding in half and then clipped the binding to the panel, matching the raw edge of the binding to the edge of the panel and stitched in place with a ¼” seam.
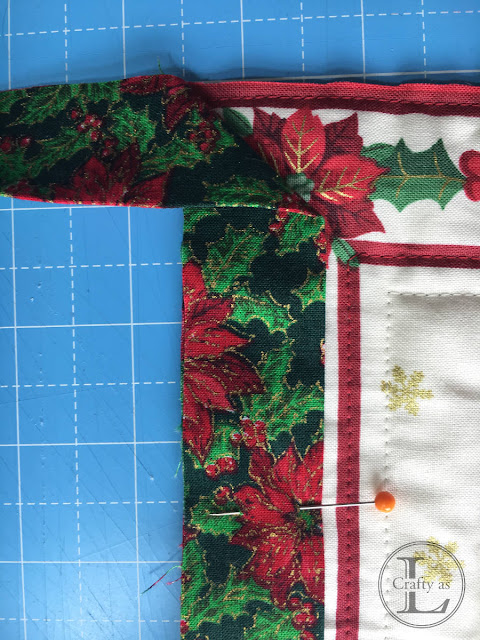
Once this was completed, I pressed the binding away from the panel and then folded the binding over to the back and clipped it in place, ensuring that the edge covered the stitching where the binding was attached.
I pressed the binding in place and then stitched it down from the top of the panel by stitching ‘in the ditch’. The ditch is the slight indentation where the binding is attached to the panel. If stitched accurately, the stitches ‘in the ditch’ are almost invisible on the top side but will also be in the correct position to secure the other edge of the binding on the reverse side.
Due to inserting the dowel earlier, I had to use my zipper foot around the edges and top of the dowel but switched to my ‘in the ditch’ foot once I was clear of the dowel as it makes the whole process easier.
 |
| 'In the ditch' foot |
To finish, I ensured all thread end were cut off and then gave the calendar a good press with steam. All it needs now is to be filled with gifts - need to make a Thinking Cap pronto….!


Comments
Post a Comment