Funky Face Masks
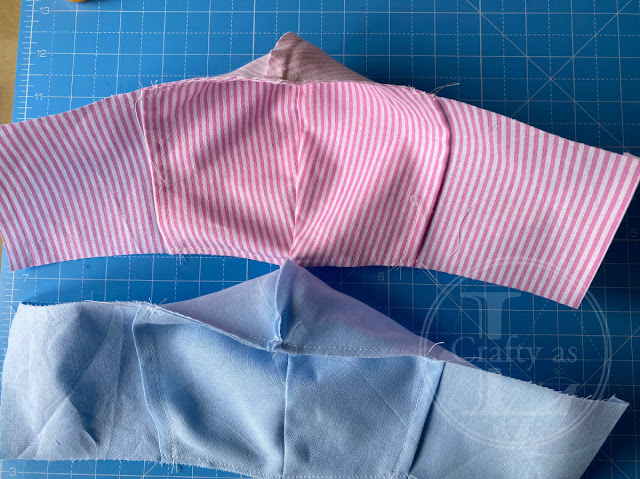
In last week’s briefing regarding the new rules that may apply coming out of lockdown in the UK, Boris hinted that face coverings will be the way to go. There are a few mask designs online and I tried out a few. The Olsen mask is a widely available free download and there’s another variation at www.craftpassion.com. After making up one of each, I combined the two to get my preferred fit and function. The masks have a filter pocket where an additional layer of protection can be inserted. I’m using Henry Hoover vacuum bags which are made from 3 layers of spun polypropylene. I’m showing two masks as I’m generally making these in pairs: one to wash and one to wear. Hygiene is still key to preventing the spread of this virus, as is social distancing when possible.
Important note: it is vital to remove the nose wire and filter before washing – those bits of wire won’t do your washing machine any good at all!
Disclaimer. These masks are not medically recognised or tested. Use at your own discretion.
The most suitable fabric for the mask is 100% closely woven cotton, like quilting fabric. It needs to be pre-washed at the temperature you intend laundering the mask at, otherwise the mask may shrink when you wash it.
The templates are here: Face Mask Template
and a downloadable tutorial is here:Face Mask Tutorial
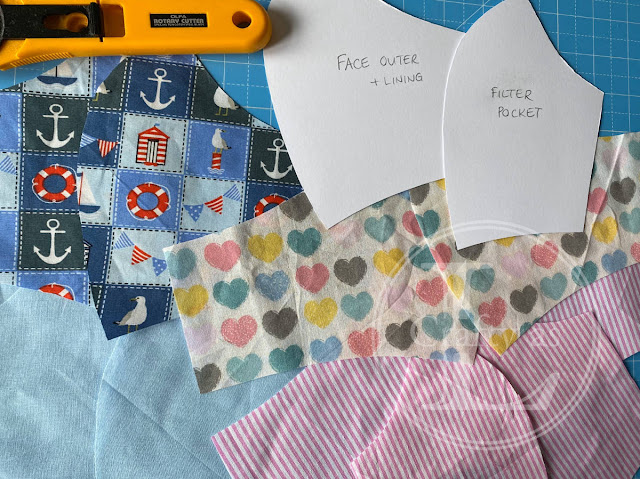
Cut out mask pieces on folded fabric (either right side to right side or wrong side to wrong side) to cut mirrored pieces of each template. Cut 2 each for the mask outer, lining and filter pocket.
Turn ¼” of the straight edges of the filter pocket over twice, press in place and then sew to secure. Turn the edge of the corresponding mask outer and lining pieces over by ¼”. Sew the outer, lining and pocket pieces together along the curved front edge using a ¼” seam. Press seam allowance open or over to one side.
Lining up the seams, baste pocket along top and bottom edges onto the right side of lining within the seam allowance (approx. ⅛” from the edge).
With right side together, stitch mask front to lining, leaving one edge (the one pressed under in stage 2) open for turning.
Turn right side out through the side opening and press. Fold in approx. 1” on each side, press and then stitch in place.
Feed a 10” piece of elastic into the channel created on each side of the mask and tie in a knot (in a position which gives you the best fit). Feed the knot into the channel.
Optional nose wire to provide a better fit closer to the face.
Sew a L-shaped channel ¼” from the top edge of the mask – ensure it is only closed at one end! Take a length of wire about 3½” (I used a paperclip opened out) and turn the ends over using pliers. This will prevent the wire poking through the fabric. Insert the wire into the channel inside the filter pocket.
Cut 2 pieces of your filter material and sew along the curved edge. Open out and insert into the pocket.
Step out in style!
Stay safe 💗


Comments
Post a Comment