Cool Yule Christmas Tags
I never make enough tags for our Christmas gifts and usually end up frantically cutting out bits of card at the last minute! To avoid the problem this year, I decided I would start making tags in batches. I saw a YouTube demonstration of this technique and thought it ideal since you make 10 tags at a time and it allows you to use up a load of scrap pieces.
For this project I used:
A4 sheet of thick card for the tag backs
Scraps of white card for the houses
SU! Hometown Greetings Edgelits
SU! Balmy Blue ink
SU! Pacific Point ink
Shimmer ink in Frost White
‘Merry Christmas’ greeting from SU! Half Full stamp set
SU! Scalloped tag topper punch
2.5m ribbon
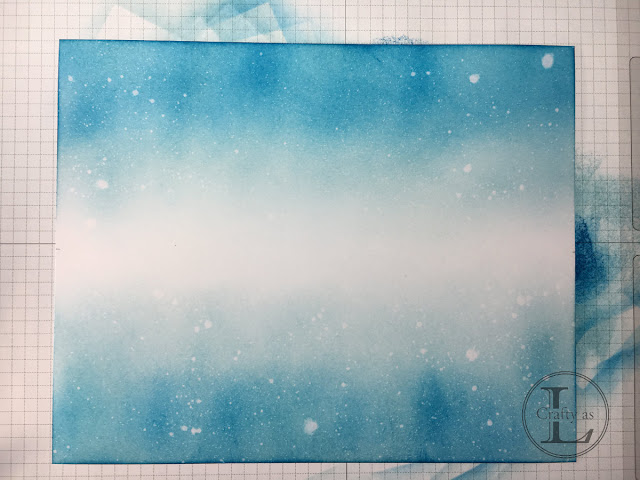
In pencil, mark the half way mark on the short sides of the A4 card. This is a rough guide for your blending as you want the central portion to stay white. Sponge Balmy Blue ink into the card using circular motions, building up the colour from the long edges and fading toward the centre. I added some Pacific Point ink to intensify the blue at the edge. Once the ink blending is complete, spritz lightly with plain water and then immediately use a tissue to absorb the water which will also lift the ink in those spots, giving a distressed, snowy look.
Cut the card in half along the white centre and then into 2” wide strips. To add some shimmer, I spritzed the tags with a few drops of Frost White Simmer ink mixed into some rubbing alcohol and left them to dry.
Using the scrap pieces of white, cut out 10 houses using the Hometown Greetings edgelits.
Trim off any partial or unwanted houses and then glue the houses onto the blue end of the tag. Trim off any overhanging house layer.
Punch the tops of the tags with the tag topper punch then stamp the greeting. I used the Stamparatus to stamp the 'Merry Christmas' greeting on each tag.
Cut the ribbon into 10”/25cm pieces and tie onto the tags. All finished!


Comments
Post a Comment