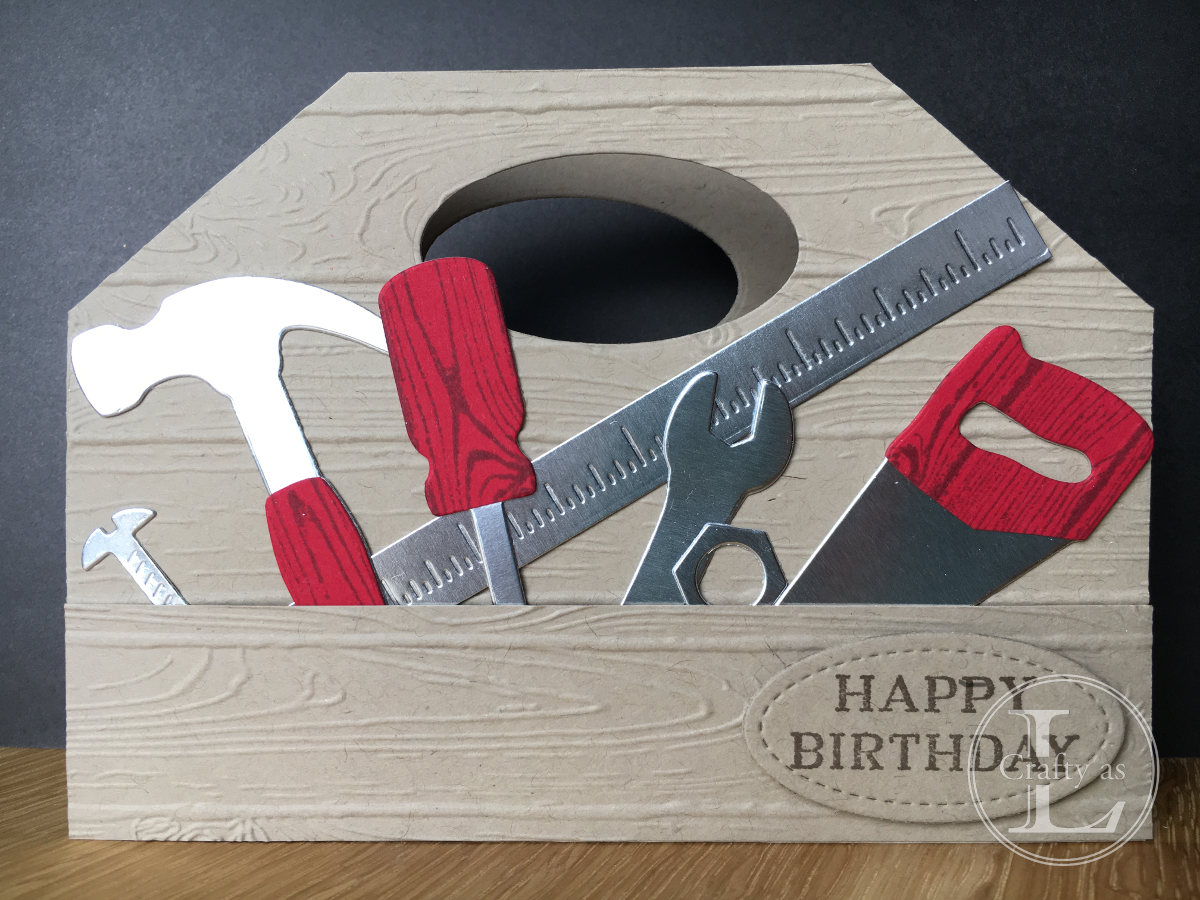
Tool Kit Card - retired but not forgotten!

For this card I used:
11½” x 4⅛” scored at 5¾” brown card, I used Crumb Cake but any brown will work
5¾” x 1¼” strip of the same brown card
6” x 3½” piece of silver foil card
5¼” x 2¼” Very Vanilla card for the liner
2” x 4” of coloured cardstock for the tool handles
SU! Nailed It stamp set
SU! Build It Framelit Dies
SU! Hardwood background stamp
SU! Pinewood Planks embossing folder

To make the toolbox handle, take the cardbase and mark the centre of the top edge of the card. Place a shaped die to cut out the handle hole; I used an oval die measuring 2⅛” x 1⅛” from a label set I have but you could use a rectangle or similar, you just need a ‘hole’ shape! Fold the base card along the score line, place the die centrally about ⅜” from the top edge and run through the Big Shot cutting both layers. If it doesn’t quite cut through the bottom layer, it will make an impression so you know where to reposition the die to cut through that layer.

To shape the corners of the toolbox, mark the top edge 1½” along from each edge and 1¼” down each side and join with a pencil line. Cut along these lines through both front and back pieces. Erase any pencil marks still showing.
Your now have your basic toolbox. You can use it like this or add more interest by stamping with the Hardwood stamp or using the Pinewood planks embossing folder. I’m going to emboss this one. Position the front of the card into the embossing folder and run through the Big Shot. Repeat with the small piece of card.

Apply glue to the side and bottom edges of the small piece and attach it to the bottom of the base card. It should make a small ‘pocket’ to put your tools in.

Make the tools by cutting out of silver foil sheet. You can stamp and colour the tools but I decided to do a quicker version by just cutting out the tools using foil sheet and then adding handles onto the screwdriver, saw and hammer.

To make the tool handles, ink up the hardwood stamp and stamp onto the coloured cardstock you’ve chosen for the handles. I’m using real red card and basic grey ink. It’s easiest to lay the stamp face up, ink it up and then place the cardstock on top, cover with a piece of scrap paper and then rub over with your fingers.

Align the hammer, screwdriver and saw framelit handles with the printed grain and cut out. Trim to leave the handles only and glue onto the tools.

Position the tools where you want them in the tool box and then dab a bit of glue behind the tops to secure.

Add a sentiment. I stamped ‘Happy Birthday’ from the Perennial Birthday stamp set onto one of the ovals I cut out earlier for the toolbox handle. This card would also be great for a retirement or 'significant' birthday when gold or silver glimmer paper could be used instead of the foil sheet for extra wow!
Using the Nailed It stamp set, stamp some screws, nails and nuts onto the card liner and the envelope. Stick the liner to the card.

You're all finished!
 |
| Another version with darker card for the 'wood' and grey handles |
Thanks to Amanda Fowler of Inspiring Inkin'for the inspiration for this card.


Comments
Post a Comment