One Armed Crafter
Unfortunately, this week I have found myself needing a sling. I’ve had pain in my wrist for some time but now have pain in my elbow and muscle soreness in my upper arm too. The arm in question is my right which my dominant side so it’s quite a challenge to rest it. Whilst I await further medical treatment, I figured the best way to stop me using the arm and causing more pain was to put it in a sling. I tried the basic triangle sling out of the first aid kit but it was very uncomfortable so I decided to make my own. Fingers crossed you won’t need this but should you ever be in need of a sling, here’s how I made mine.
Disclaimer: I have no medical training – use at your own discretion!
First, I measured from the outside of my bent elbow to the middle of my little finger and added 4” onto this measurement. I don’t think there’s any rule about how high to have the sling so I went for about 6½” and added on 1½” for seam allowance and boxing the elbow area.
I cut out 2 rectangles of the correct size, one for the outer fabric and one for the lining. I also used some fusible fleece to give my sling a bit more strength but still be soft – I cut it out about ½” smaller all round than the outer fabric. The rectangles were folded in half along the long side before cutting a curve through both sides at the top corner (I used a Pyrex bowl to trace my curve) on one short side. On the other short side, mark 1” in from the edge along the fold and cut from there to the corner. My pieces looked like this.
The fleece was adhered to the back of the outer fabric as per manufacturer’s instructions. Both the outer and lining fabrics were then folded in half along the long side, right sides together and stitched down the short straight side (without the curve) using a ½” seam allowance.
To make some elbow room (!), I ‘boxed’ the seam. To do this, fold the seam back so that it lays on top of the centre crease. Mark a line at 90˚ to the seam/crease that is 2” long.
Sew along this line and trim off the excess.
The boxed corner should look like this.
I had a broken luggage strap that I was planning to use for my support strap but I didn’t have any strap sliders 2” wide. To overcome this slight problem, I stitched some 25mm wide webbing strap onto one end as I had 25mm plastic D-rings that would support the front of the sling. I sewed some fluffy Velcro onto the wide section on the strap and the hooky Velcro onto the same side of the thin end of the strap. It’s not easy to see as it’s black Velcro on black strapping!
Cut two 4” lengths of 25mm webbing and fold in half. Place a D-ring onto each piece and position one on each side of the top edge of the sling, just as the curve begins, and pin in place. Match the edges of the webbing to the edge of the fabric. Pin the long strap to the back of the sling, roughly about 2” from the seam. Test for a good fit before sewing in place using a ¼” seam allowance.
Next, with right sides together, pin the outer to the lining, ensuring that all the straps are between the layers and away from the edges. Sew all around the edge using a ½” seam allowance but leaving a 3”opening on the back edge for turning. This method is called “Bagging out” in case you’re interested!
Clip the curved corners so that they will lie flat when turned out.
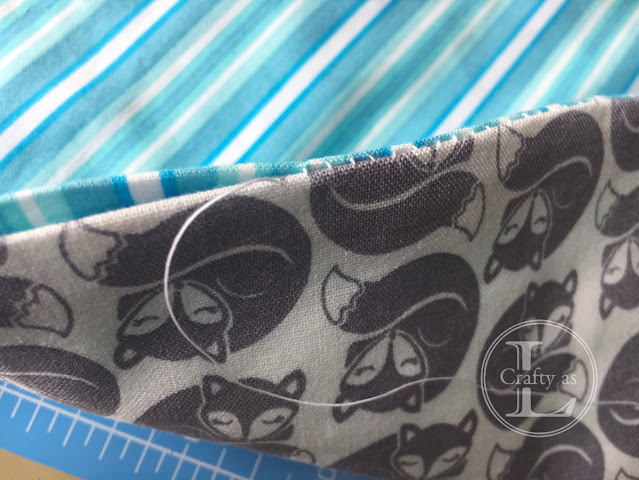
Turn the sling right side out through the hole in the back seam. It probably won't look very sling-like at this stage!
Press the seams flat, turning in the seam allowance at the opening. Close the opening with a slip stitch or ladder stitch.
Top stitch all the way around approximately ¼” from the edge. This will keep the outer and lining fabrics in place and provide additional support across the straps.
Lastly, I found that the strap dug into my neck a little so I made a padded cover for the strap. This involved 2 pieces of fabric, one with fleece attached, sewn all the way around minus the hole for turning.
Once turned and pressed, the piece was folded in half and sewn close to the edge, securing the ends well. This formed a tube that the strap could be fed though.
And here’s the finished article! This is my Mark 2 version. The first one wasn’t quite long enough and finished half way down my hand. I felt that with my hand dangling, there wasn't enough support for my arm to completely relax. The Mk2 version is much better but I’m hoping I won’t be needing it for very much longer.


Comments
Post a Comment