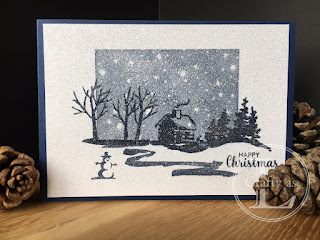
Glittery Snow Front
Glitter and Christmas are synonymous with each other, well, in my book anyway. What better way to ‘glitter-ify’ a card than to completely cover it with the sparkly stuff?! Read on for how to bling up your card with some super festive sparkle.
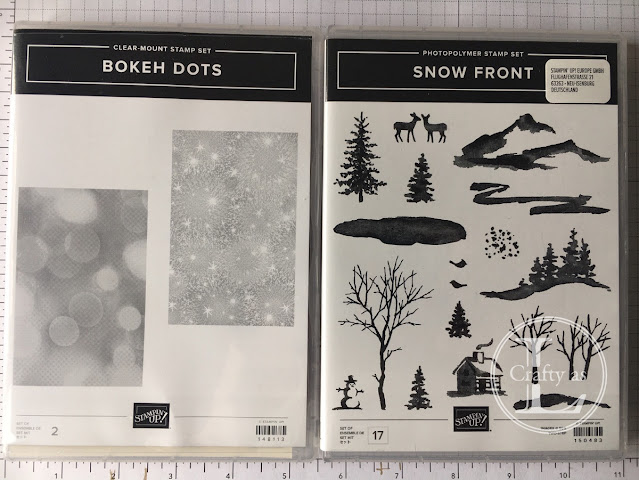
The Snow Front stamp set is the Christmassy cousin of Waterfront, also with the same water-colour styling. For my sky, I used the starry background stamp from the Bokeh Dots set.
I was excited when I first received the Bokeh Dots set as I love the bokeh effect. However, when I went to use the background stamps, the results were just rubbish; no definition, too much ink, bare patches etc. I was so disappointed ☹ So, I put them back on the shelf and moved onto something else. A google search revealed that what I had encountered was a common problem. Juicy ink pads are not your friend with these stamps. Apparently, the trick is to apply the ink using a roller of some kind. Heeding this advice, I tried both my brayer and a foam roller. Both of these methods yielded great results first go – phew! I did make sure to press and hold the stamp in place for about 10 second to ensure the ink had the time to transfer.
Next was to create my scene using the Snow Front. There are so many scene variations you can create with these stamps. It’s great fun playing around and seeing what scene comes to life.
Now comes the messy bit! I used an IKEA glass candle dish (a silicon mat, plate or other such item that you can put glue on and wash afterwards would work too) and squirted some glue into it. I added a single drop of water to loosen up the glue a bit.
Using a sponge, I dabbed a few times into the glue to get a good coverage on the sponge and then dabbed all over the card until the whole piece had a glue coating. The inks used to create the picture are water based so I was mindful not to go over the inky parts too many times to avoid inadvertently transfering any ink onto the white areas. Once the card was covered with glue, I applied Dazzling Diamonds glitter and then left to dry. Once the glue was dry, I rubbed over the surface to remove the excess glitter. And that’s all there is to creating a super sparkly card front!
I also tried the technique using some Feels Like Frost DSP and the Ice Stampin’ Glitter. This is a chunkier glitter and I don’t think it works quite so well as the fine glitter for this technique.


Comments
Post a Comment