Playful Pets

We share our home with two rescue cats, one is very playful, the other is quite lazy. Monty likes to sit in a shady spot and watch the world go by, occasionally coming over for a quick head rub. Leia, on the other hand, goes everywhere at break-neck speed and is a prolific hunter. During one of her recent outings, she came back with her eye closed and we could see what looked like a thick hair protruding from her eye but couldn’t get it out, so off we went to the out-of-hours emergency vet. Now, Leia does not travel well! During the 25-minute journey in her crate, she had a wee, a poo, was sick and then had copious amounts of drool hanging down each side of her face. We presented her, in the socially distanced handover in the vet’s car park, with a description of the emergency and an embarrassed apology for the state of the cat/crate! I’m sure they’ve seen it all before….
Anyway, 45 mins later, a rather quiet Leia was given back to us together with this massive grass seed that the vet had taken out of her eye. OUCH!

Thankfully, Leia is now fully recovered and back to zooming everywhere at high speed again.
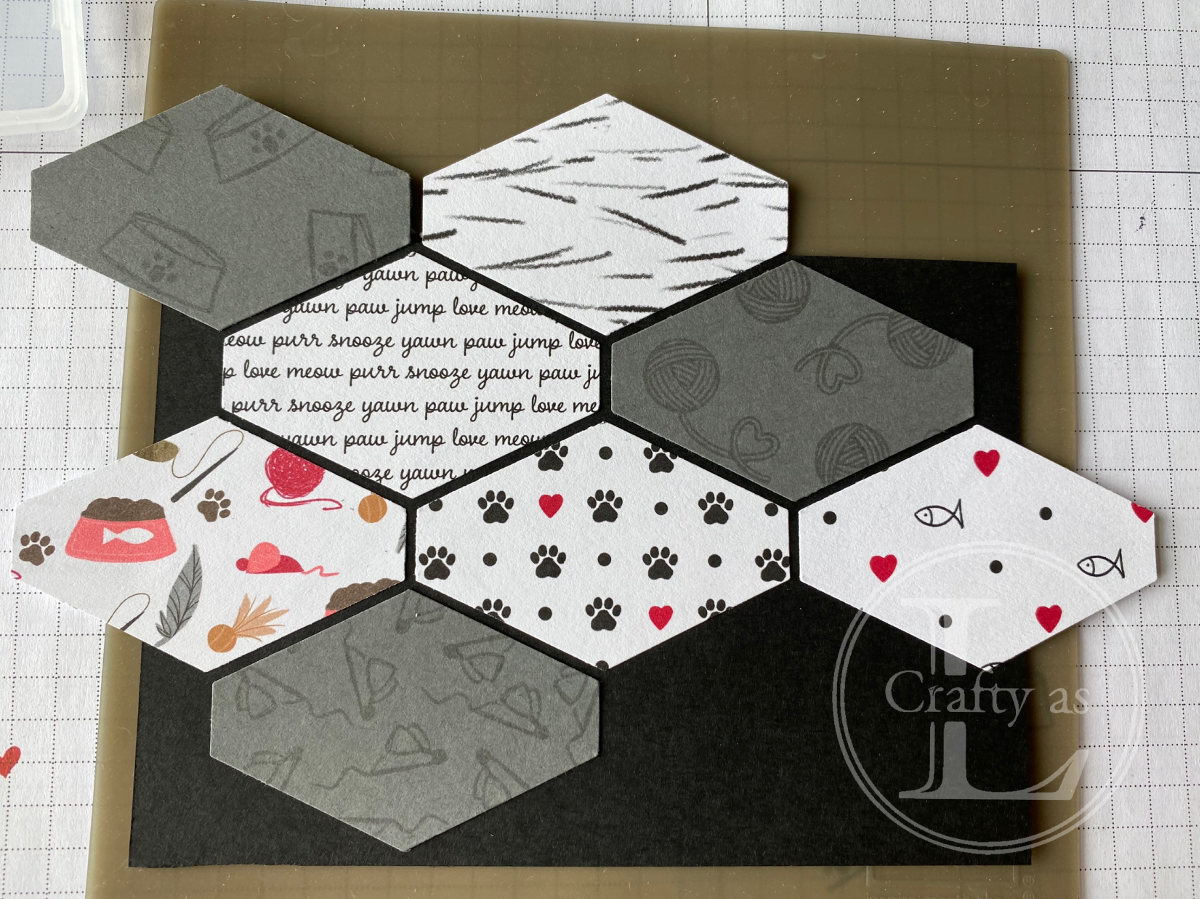
I wanted a cat-themed card for my friend who runs a cat rescue charity, The Cat Welfare Group, so I used Pampered Pets, a new set in the Stampin’ Up! Annual catalogue that comes with matching dies and a suite of other coordinating goodies. I used the Playful Pets DSP for my project along with the Tailored Tag punch, cutting a bunch of different papers together with some stamped images, stamped on Basic Grey card using the Nine Lives stamps (retired).

I next set them out on my backing piece and then glued them in place.
I stamped one of the cat images and coloured him with alcohol markers before cutting out with the matching die. I attached him to a tag piece that I’d stamped with my greeting and then put dimensionals on the back.

To decorate the liner and envelope, I cut the paw prints from a scrap of card and used it as a stencil.

To bring the card together, I mounted the decorated panel onto a black mat layer and then onto a Real Red card base. I glued a length of the red trim around the front of the card and then put my kitty and greeting in place.


Comments
Post a Comment