Misty Moonlit Trees
Welcome to September - it’s time to get started on Christmas projects! This is my first Christmas card this year. For best results, a stamp positioning tool is needed – this allows the trees on the two layers to be perfectly aligned.
First, I cut a ‘moon’ layer of Whisper White and a Misty Moonlight layer ¼” shorter in height. I positioned both pieces of card in my Stamparatus, added the trees from Stampin’ Up! Winter Woods and stamped on the blue layer, removed it and stamped the white layer. The white layer was removed and I repeat stamped the trees on the blue layer to cover the front.
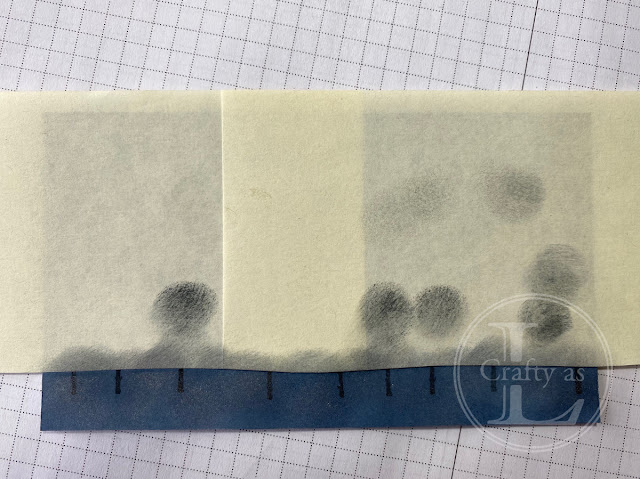
Next, I masked the trees and sponged a little black ink to ‘ground’ my trees. I sponged a little white and silver ink too.
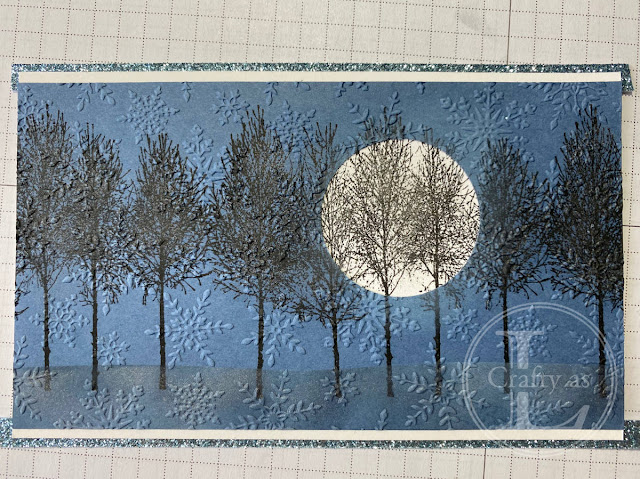
The moon was made by punching a circle from the blue layer and to add some more wintry feel, I ran the blue section through the Winter Snow embossing folder to cover with snowflakes. As I’d used the stamp positioner, my trees matched through the hole beautifully! I was mounting the card on a white card base so I needed an extra border which I made by cutting thing strips of Balmy Blue Glimmer paper.
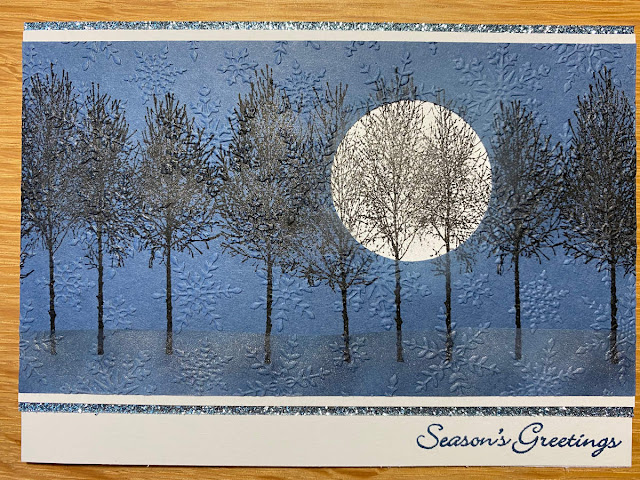
The final step was to stamp the sentiment in the tiny gap I had left myself! Fortunately, the simple Season’s Greetings from Itty Bitty Christmas fit perfectly ?


Comments
Post a Comment