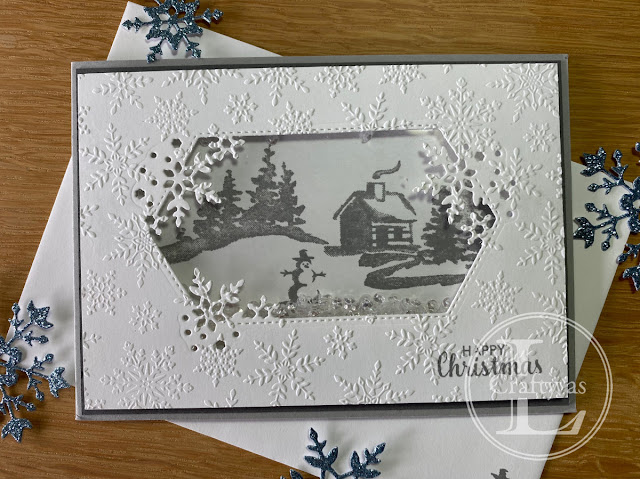
Snowflake Shaker
One of the dies in the So Many Snowflakes cuts out a stitched window, which is crying out to be made into a shaker card! To make the scene through the window, I used the Snow Front stamp set.
The first job was to cut out the window. I eyeballed the position of the die to get it more or less in the centre.
As my cutting plates are somewhat manky, the card was marked a little so I ran it through the Winter Snow embossing folder to disguise the marks. Remember to stamp the sentiment before embossing!
Next, I stamped my scene onto a smaller piece of card. I drew around the die lightly to help with positioning my scene and erased the pencil marks afterwards. Although the scene is navy in this picture, I changed my mind and did another in Basic Grey – to avoid any confusion in the later photos!
To make the shaker element, I glued a piece of acetate onto the back of the window and then applied foam strips around the window. It’s important that the strips meet up snuggly to prevent the sequins or glitter escaping! I added another layer of foam around the edge of the card ready for mounting onto the card. Lastly, I removed the backing paper, added the sequins into the window area and positioned the scene, pressing down well.
The shaker was mounted on a Basic Grey layer and then onto a Smoky Slate card base.
In case you can’t be bothered with making a shaker card, the idea works equally well without as just a simple 3D window card.


Comments
Post a Comment