At An Angle
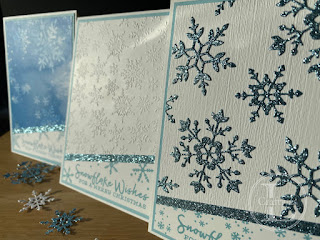
Sometimes, a jaunty angle can really add a new dimension to a project. When I first tried this card, I cut it straight across and it looked… well… distinctly average. However, make a diagonal cut and the whole thing is transformed. I give you three options, depending how much work you want to put in!
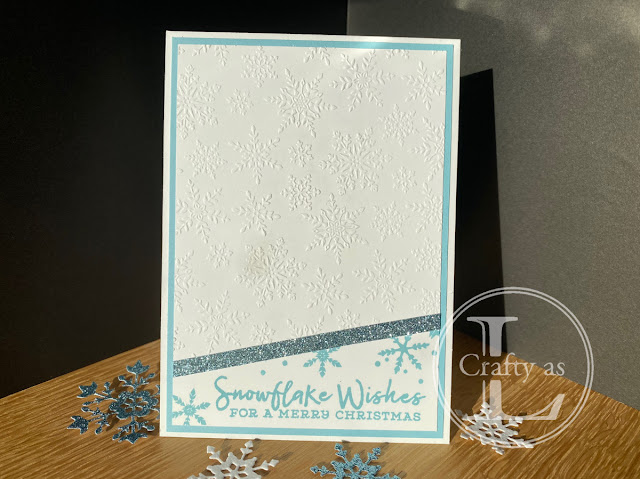
To begin, I stamped the greeting from Stampin’ Up! Snowflake Wishes on the bottom of my card front, just so I had an idea of how much to chop off. I found a nice angle if I lined up the bottom right corner with the top of the grid section on my trimmer and the top right corner against the stop rail. This also allowed me to repeat the cards at more or less the same angle.
The top section was embossed using the Winter Snow folder and I covered the join with a ¼” strip of Balmy Blue glimmer paper, trimming the ends flush with the white panel.
The whole panel was mounted onto a Balmy Blue layer and then onto a white card base.
For an easier option, I cut a piece of Snowflake Splendour DSP about 5” long and a piece of Whisper White about 1½”, placed the white piece on the right side of the patterned paper and cut both together at the same angle.
I flipped over the white piece and stamped the sentiment, then covered the join with the strip of Balmy Blue glimmer paper. By cutting the two pieces together, the pieces should have the same angle and match up. Hopefully! The piece was trimmed to size and mounted like the previous card.
The last option is a bit more work. I embossed the white piece with the Subtle folder and cut out a selection of snowflakes using the So Many Snowflakes dies. Tip: applying a sheet of adhesive to the glimmer paper before die cutting the snowflakes makes the next step much easier. Guess who didn’t remember to do that! These snowflakes were stuck onto the embossed piece and any overhanging bits were trimmed off.
This panel was mounted like the previous cards.
One design, 3 different looks!


Comments
Post a Comment