Snowflake Spinner Card
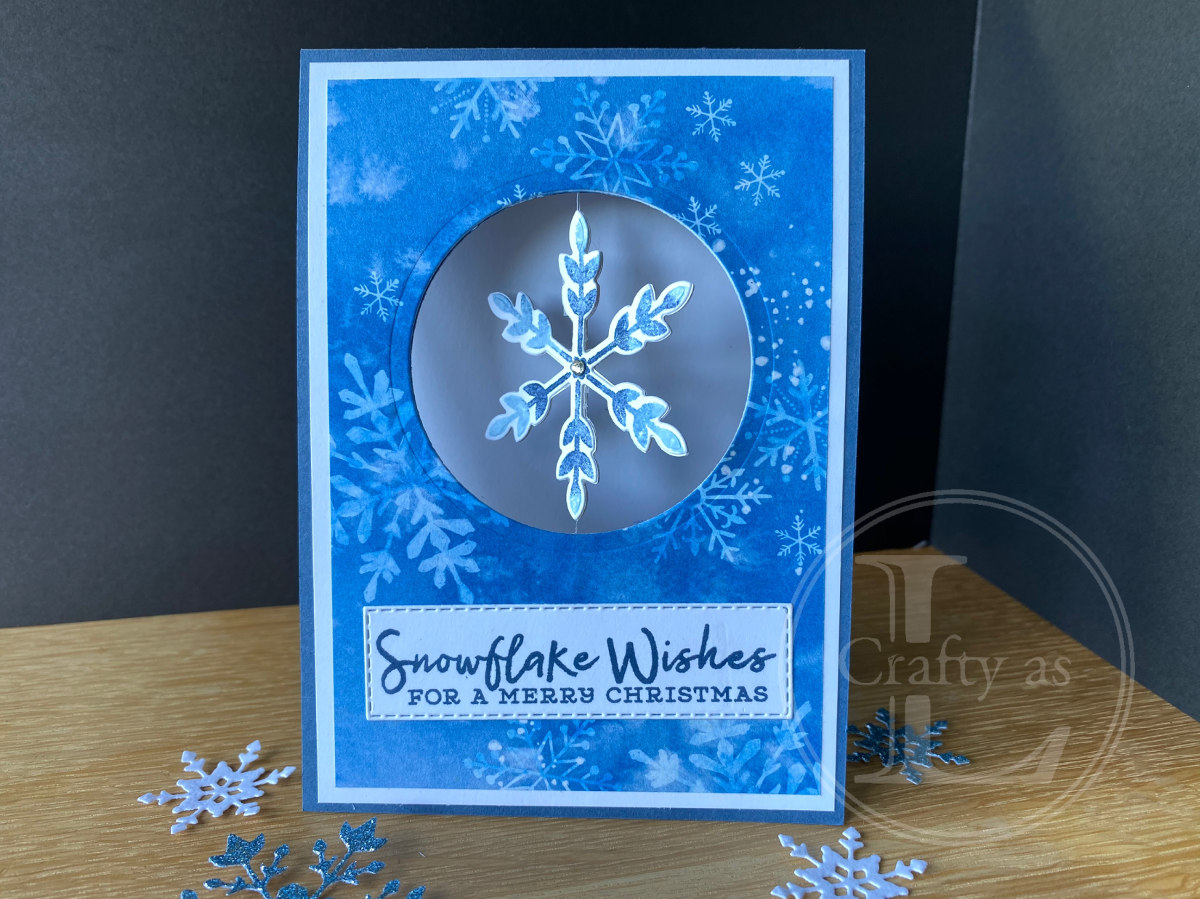
This week’s project is a fun card, giving a little surprise to the recipient. When the card is opened, the snowflake spins around. Of course, it doesn’t have to be a spinning snowflake, you can use any shape. I include a star shaped card at the end which looks really cool!
To begin, I cut the aperture from the card base and layers. To get them to line up perfectly, I layered the pieces without gluing, placed my circle die and held them all in place with a post-it note for running through the Big Shot. The card base didn’t cut through as there were too many layers but it did leave an impression so I knew where to put the die the second time around.

Next, I stamped my snowflake images and cut them out. They seemed a little flimsy for my purpose so I cut another 2 snowflakes from thick Whisper White card and stuck one to the back of each stamped image. I sandwiched a length of beading elastic down the centre of the two snowflakes to make the spinning element. I have also seen people use dental floss or fishing line for the supporting line; I tried embroidery floss to begin with and that didn’t work very well.

I glued the DSP onto the mat layer and then the two ends of elastic were adhered top and bottom of the aperture on the back of the mat layer.

This whole panel was then glued onto the card base, using plenty of strong adhesive at the elastic anchor points.
Using the Snowflake Wishes stamp set, I stamped the liner and the sentiment.

To make it spin for the recipient, just twist the spinner round 4 or 5 times before placing it in the envelope. Here is the finished card in action!
After completing this card, I wanted to see if it would work with a more complex shape so made this one using the Stitched Stars dies and Brightly Gleaming DSP. It did!


Comments
Post a Comment