Butterfly Floating Window
My card base was my standard size of 11½” x 4¼”, scored at 5¾. I then cut off 1½” off the bottom and cut the card base at 1½” after the score line. I used some (retired) mercury acetate for the window and cut some mats for the small card sections.
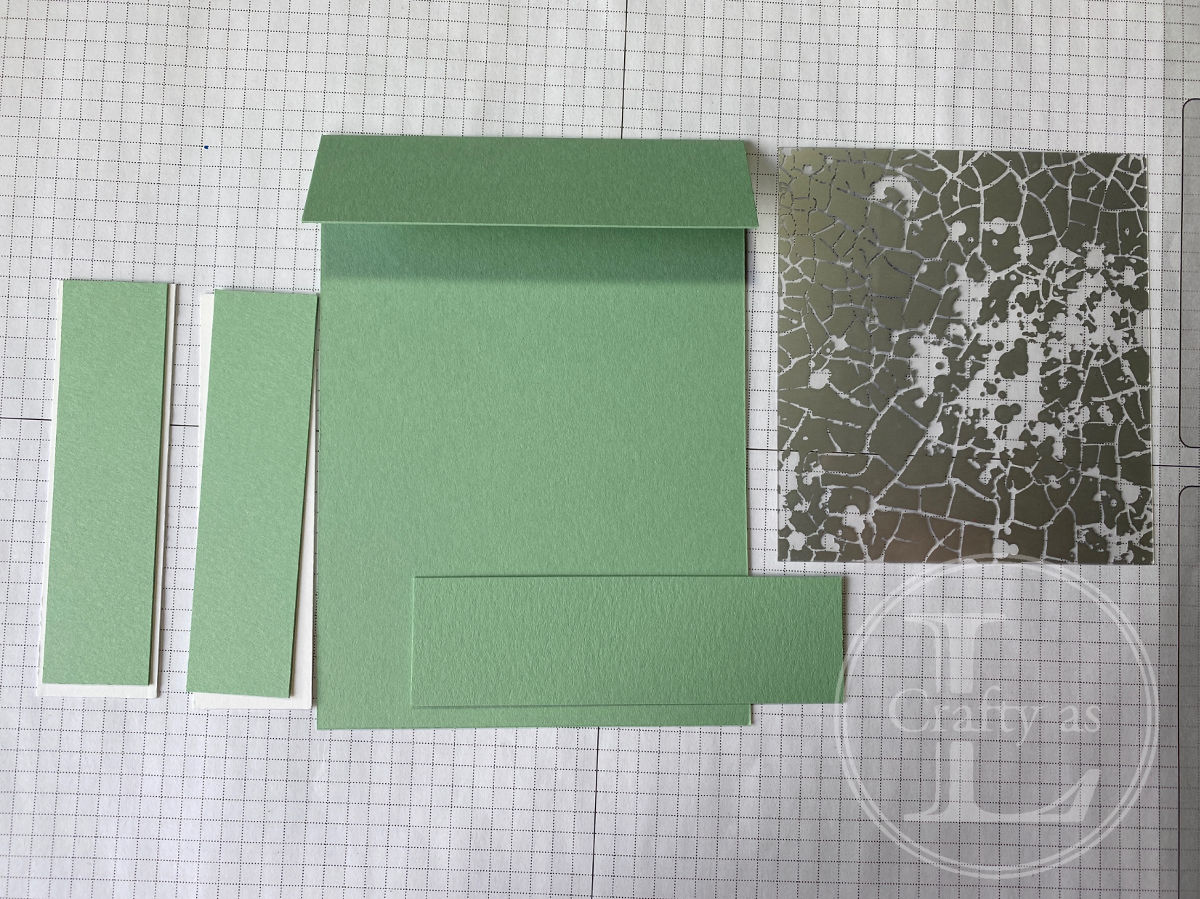
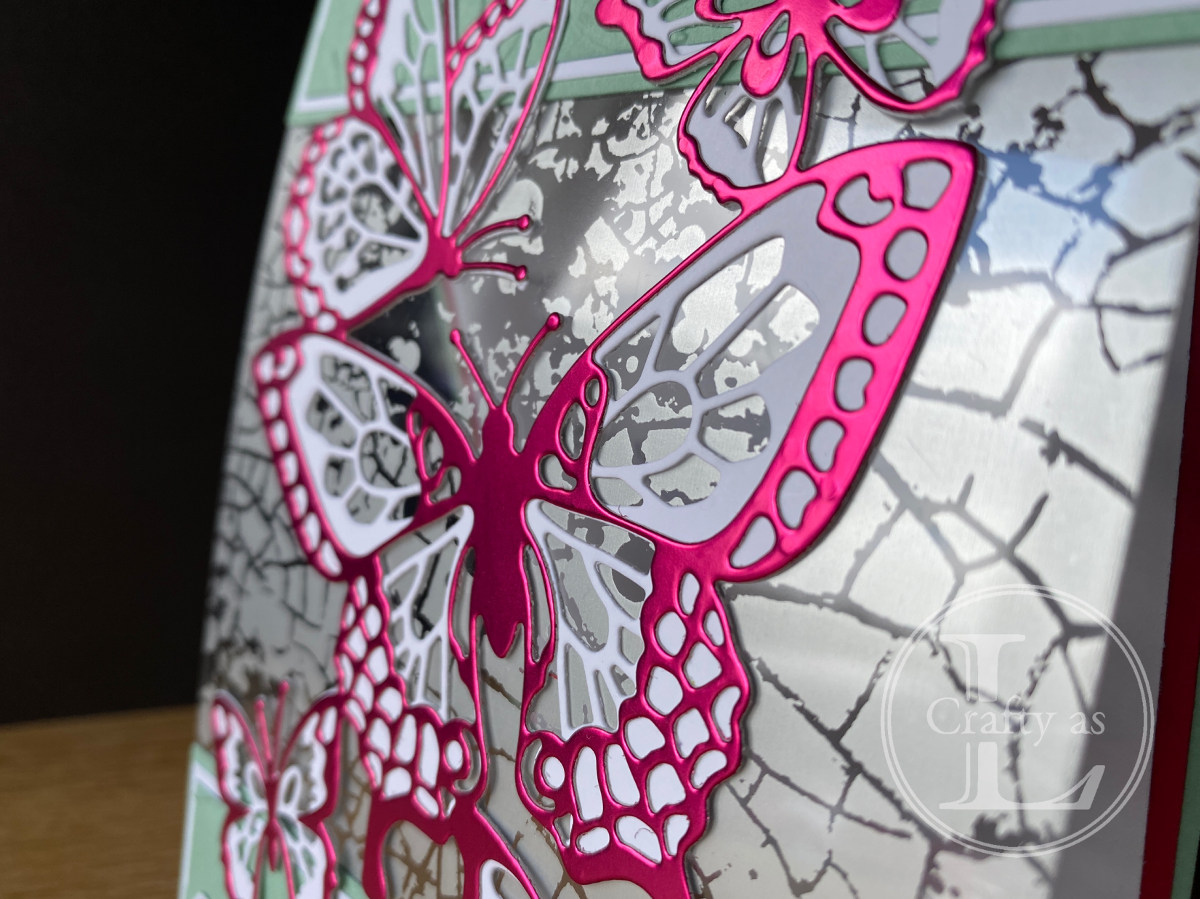
For my decorative element, I die cut the SU! Butterfly Beauty dies using white for the base layer and the retired Lovely Lipstick foil for the top layer to really make the butterflies pop.

After dry embossing the green mat layer, I assembled the card base, gluing down the mats and attaching the acetate behind.

I added some layers inside and embossed the envelope flap with the same embossing folder as I’d used on the front of the card.

As I said at the beginning, the card is quite flimsy at this stage so the butterflies need to be adhered to the top and bottom of the card and also to the acetate to give some structure. I used double sided tape for the acetate and glue for the top and bottom. My tip for where to place the glue is to position the butterfly face down on the card, roughly where it’s going to be and then you can clearly see which bits can be glued to the card.

The sentiment is from Itty Bitty Birthday and doesn’t quite fit in the Classic Label punch so I had to fussy cut it. However, I was making two of these cards and was determined not to be beaten so I stamped the sentiment again, this time stamping one word at a time and… ta-da!... it can now be punched out with the Classic Label punch.


Comments
Post a Comment