Slider Pop-Up Card

First, I cut my card base and layers. My white layer is the same size as the card front and the checked DSP is ⅜” smaller. Into the white and checked pieces, I cut a flap, that will be the pop-up element, using my paper trimmer. Another option for this is to use a rectangle die and partial die cutting. I scored the remaining side of the rectangle and also across the middle of the flap. I cut a hole in the checked piece to make a frame.

After embossing the sentiment, I glued the check DSP onto the white layer before marking the opening of the flap onto the front of the card base.

This line is to show where to stamp the inside element. I went for a fun phrase that I had to mask. The sentiment is quite wide so I stamped in sections, masking out the parts I didn’t want using post-it notes.

The next job was to finish the card front. I die cut some candles from fancy paper which I glued to white card candles to make them sturdy. The candles were completed by adding yellow flames and small hearts for the base of the flame. The centre candles were only glued to the portion of the flap below the fold line to allow them to pop-up. I also added another sentiment on a flagged banner, only attached to the central candles.

Next was to make the pull tab for the pop up. This is a piece of card ¾” wider than the window opening and slightly longer than the card, scored at ½” along one of the short edges. I marked the width of the window opening and trimmed the excess card on the corners of the folded section, then applied adhesive and glued this onto the back of the front flap.
 |
| The pull tab is on the left and the folding pop-up section is on the right |
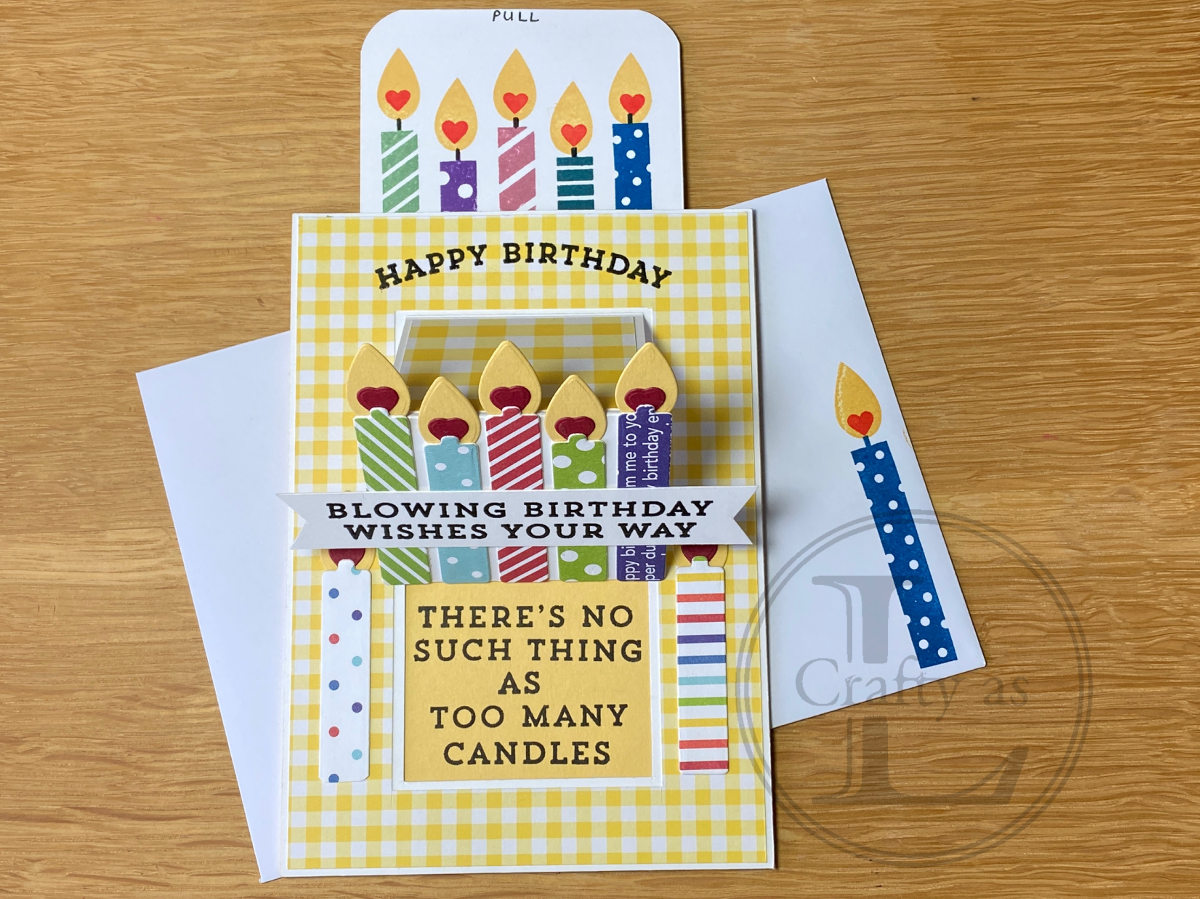
Once the slider tab is pulled, some of the tab will be visible so can be decorated. I stamped some more candles on this, rounded the corners and wrote ‘PULL’ on the top.

Whilst I was stamping candles, I stamped one on the envelope and onto the card liner.

The final stage is to assemble the card. Jennifer uses foam tape but I didn’t have any so I applied 3 layers of adhesive tape which seemed enough to create the channel for the tab to slide through.

Here is the finished card…

And when the slide is pulled…


Comments
Post a Comment