Nutty Squirrel
Welcome to my DT post and this week, I’ve been busy making an interactive card featuring the Nuts About Squirrels stamps and dies. I do love an interactive card, particularly one that doesn’t require any specialist dies, which allows you to make it any size you like. This one was for my husband for our wedding anniversary.
To begin, I made a panel to chop up for the background. I applied Deco Transfer Gel Duo through the Leafy stencil and left it to dry before placing a Deco Foil green and gold foil sheet over and running it through my Big Shot. The ‘Duo’ part of the gel is that either pressure or heat can be used to fix the foil so you can use a die-cutting machine or laminator to complete the process.

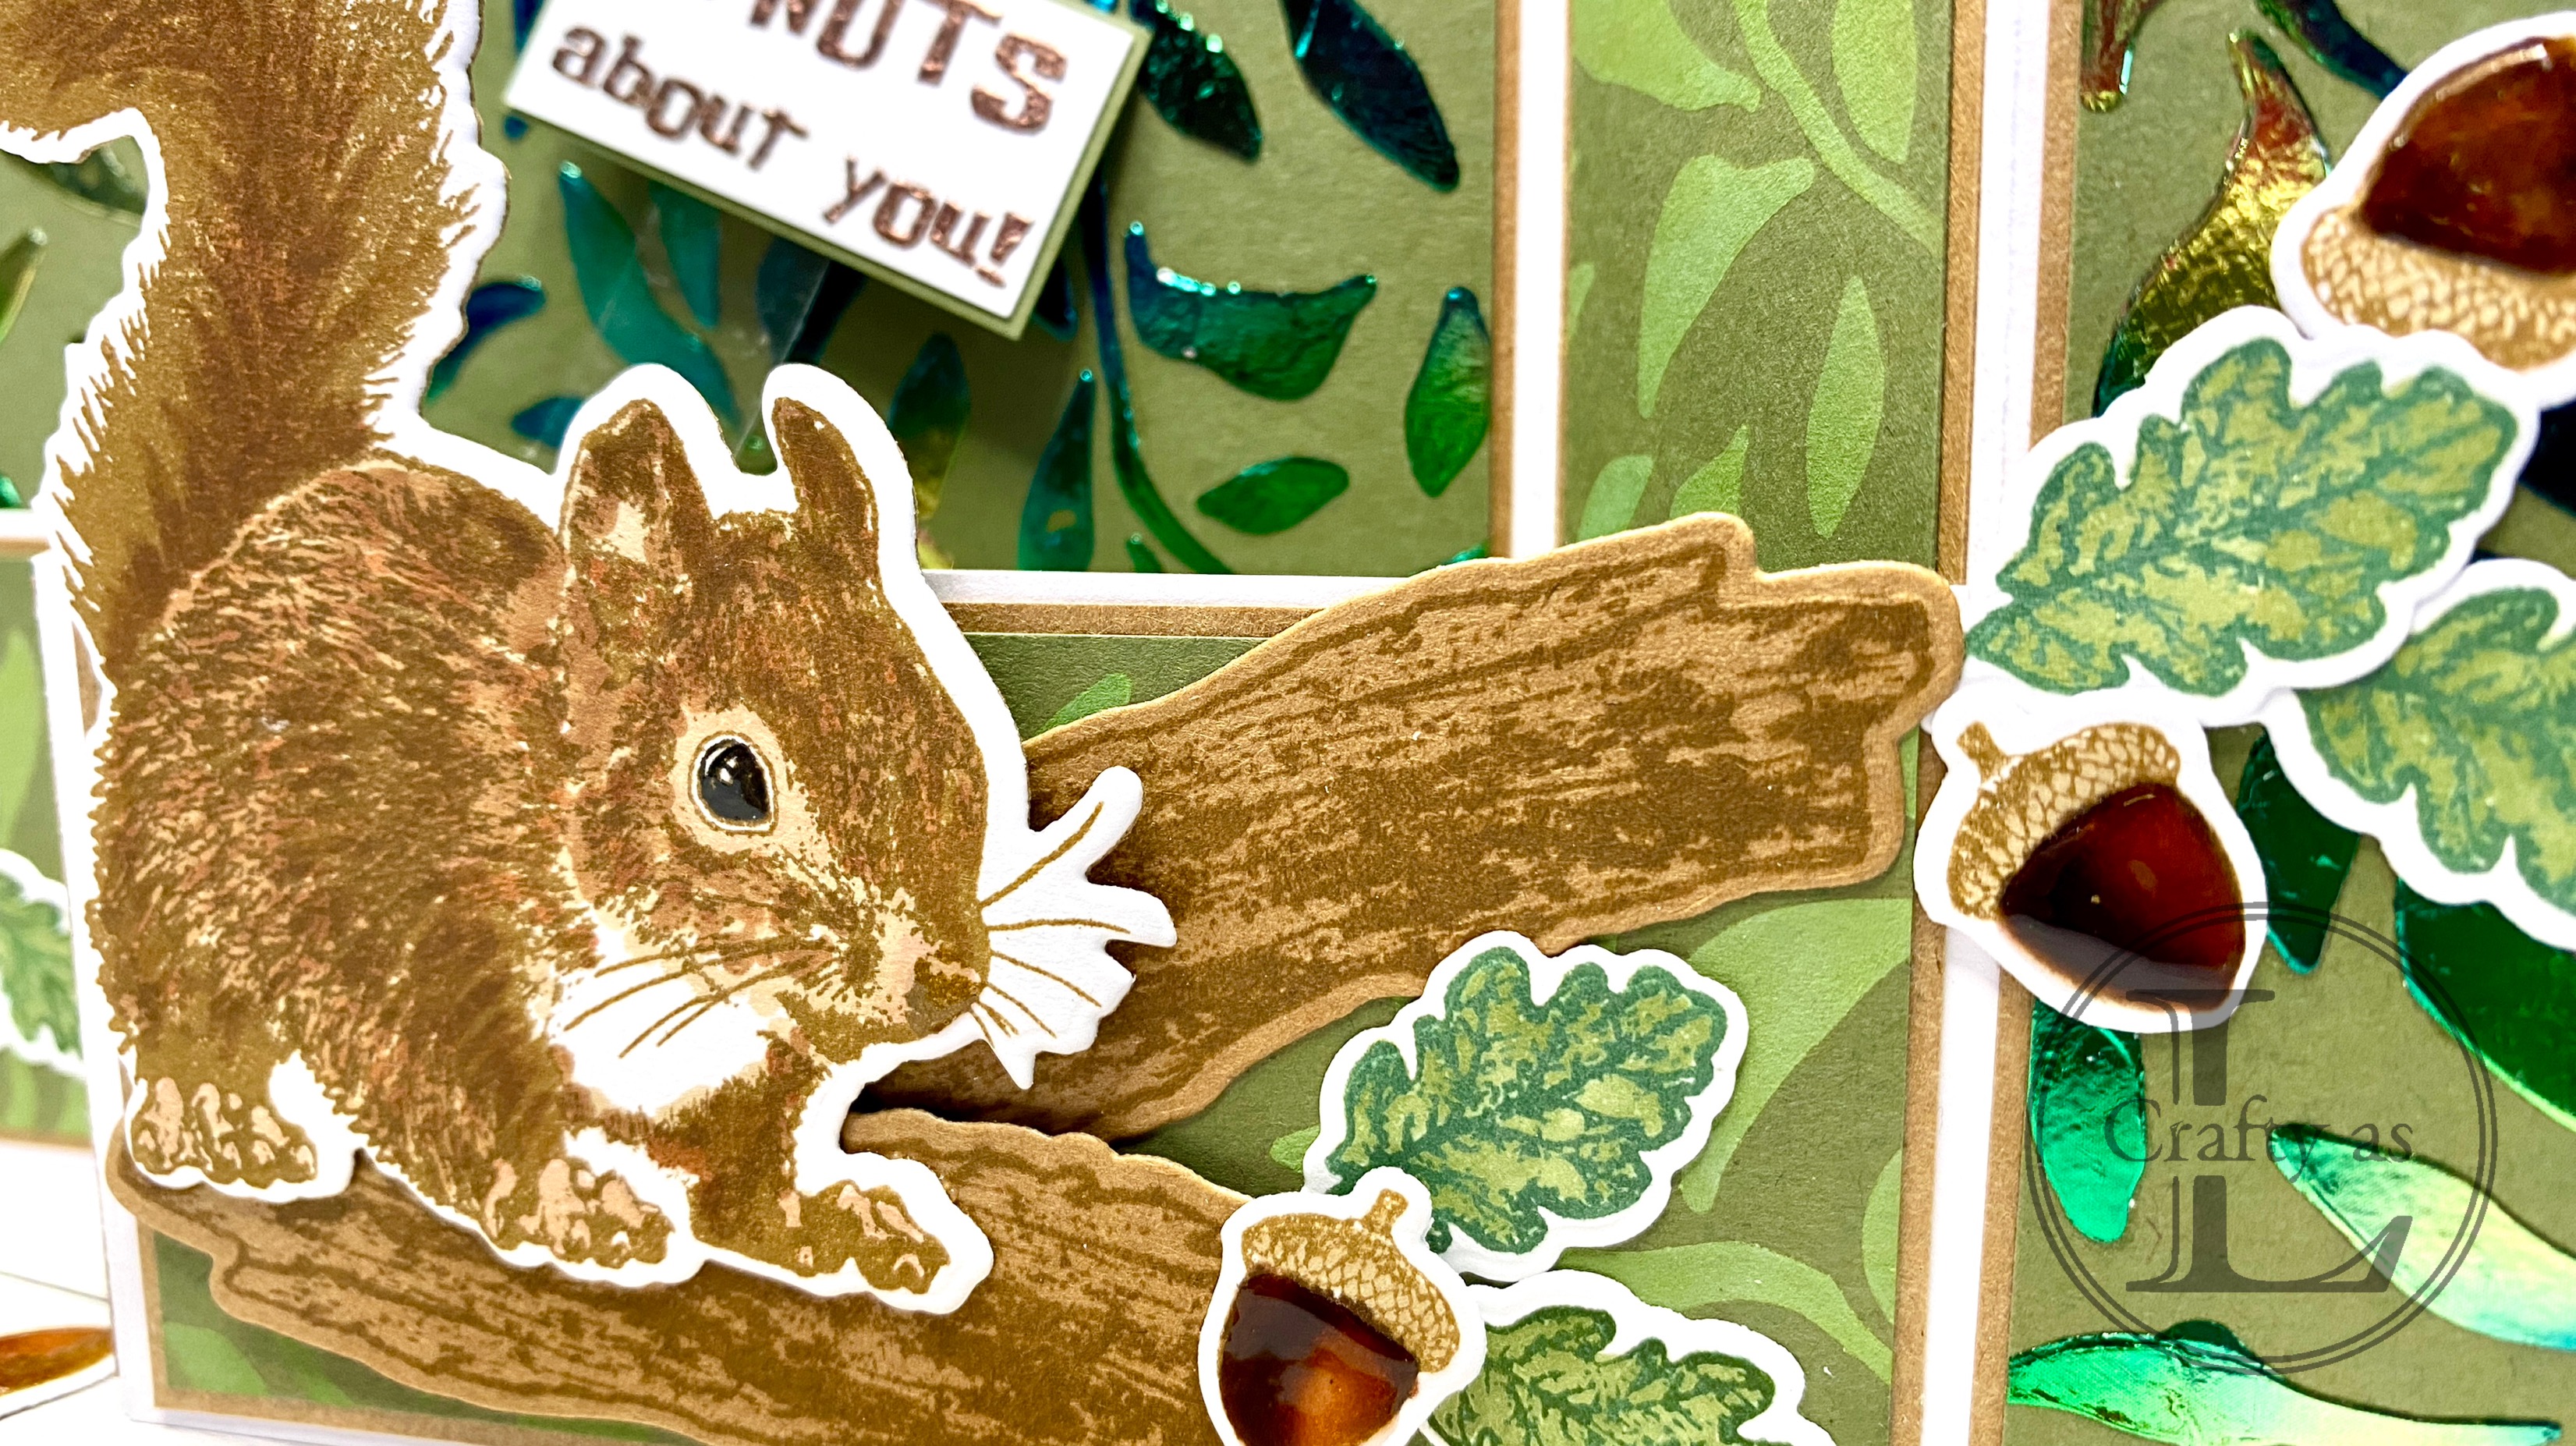
Next, I stamped the squirrel, leaves and acorns and coloured them using a variety of alcohol markers. After die-cutting them, I added some clear Nuvo Drops to the squirrel’s eye, nose and to the acorns for some extra shine.

Now for the card base, which is essentially a double Z-fold. I cut my card 8½” x 4¼” and scored at 1½” and 3” along the long edge. For the front section, the card is 8½” x 2” and scored as before. The key to the pop-up mechanism is a small piece of card, 1⅜” x ½”. Mark along the long side at ½” and score from the corner to this mark, shown by the hatched markings. I folded this back and forth several times and then, folding the corner under, adhered it next to the 3” score line of the front section, ensuring that the point didn’t extend above the top of the card. (The hatched areas are glued together).

Next, I adhered a 2⅞” x ½” strip of acetate onto the lever and attached my sentiment onto this. The sentiment needs to be small enough to hide behind the front section. I like to use Blue Tac to hold my mechanism pieces in place for a trial run to check everything will work before gluing in place.

I trimmed brown card panels to fit the card blank and then trimmed the foiled background to fit. I realised that I needed more backgrounds then so simply blended Mowed Lawn Distress Oxide ink through the Leafy stencil onto green card. I then attached the front strip onto the card base and added a decorative panel over the top.

The
rest of the base was finished with decorative leafy panels and then I added the
main focal elements. The branch was
stamped twice on brown card with brown ink and die-cut. I arranged the leaves, acorns and branch and glued
them in place, adding the squirrel to one of the branches and adhering with foam
tape. This is the card closed.


Here's the card in action!
I hope that you'll have a go at this fun wiper card. It's great for using with lots of Visible Image stamps and dies!

Comments
Post a Comment