Just Because

“Just Because” is our Design Team theme this week and my brief was for a non-card project. My friend has just begun chemo and immunotherapy treatment after being diagnosed with stage 3 breast cancer so I had her in mind to make this for. She’s a complete chocoholic so thought I’d take her some Freddos at my next visit and thought they’d look great in a little gift box-bag. After debating which products to use, I spotted the ladybird and leaf on the chocolate wrapper so that decided it: Little Ladybirds stamp set and Leafy stencil.
The beauty of this box-bag is that you can make whatever size you need, although it might be necessary to join two pieces of card together for a large one. Just decide what width and depth of bag is required, add up all the sides and add ½” for the tab. For the height, add whatever depth you’ve chosen minus ¼” plus the desired height of the bag. I find it helpful to make a little sketch to visualise all the sections and measurements.

After drawing a pencil line at 3½” (bottom of the bag), I stamped the small ladybird multiple times using Versafine Clair Nocturne, added clear embossing powder and heat set. These had some simple colour added using a red Sharpie pen.

I stamped the little ladybird a few times onto some masking paper and fussy-cut the body and head only, chopping off the legs. These were placed over the ladybirds and then I blended Mowed Lawn and Forest Moss Distress Inks through the stencil. The masks were repositioned and the stencilling repeated on the remaining panel.

To make the handles, I cut two strips of card 8¼” x ¾” and rounded the ends. I marked approximately 1½” from each end and scored lengthways down the centre of each between the marks. A strip of strong adhesive tape was stuck along the edge of the scored area.

After removing the release tape from the adhesive, the strips were folded along the score line, adhering the edges together. Next, to shape the handles, I just pulled them between my thumb and finger a couple of times. (If you can’t be bothered to make these, you could just use lengths of ribbon instead.)

For my initial make, I constructed the bag and then decided to add some eyelets to the handles. However, I inadvertently punched holes in the opposite side whilst punching through the handles – doh!

Therefore, for my second(!) attempt, I did things in a different order. First, I scored the panel at 3½” along the short side, which should be along the pencil line drawn earlier. Then, along the long side, score at the intervals you need for your bag. Mine were at 4”, 5¾”, 9¾” and 11½”. I trimmed off the small section below the ½” tab, next to the last base flap. The handles could now be glued into place on the wide sections and then eyelets added. The eyelets are optional – I wanted to try out the eyelet setter I'd had for Christmas!

Next, I formed the box by adhering the tab to the other short side and then folded in both base side flaps, glued one of the large flaps onto these and then the other large flap on top. If you fancy, you can attach a rectangle of card to the underside and into the base of the bag for neatness. It will also reinforce the base. I also glued a thin strip of green card to the top edge of the bag purely for decoration.
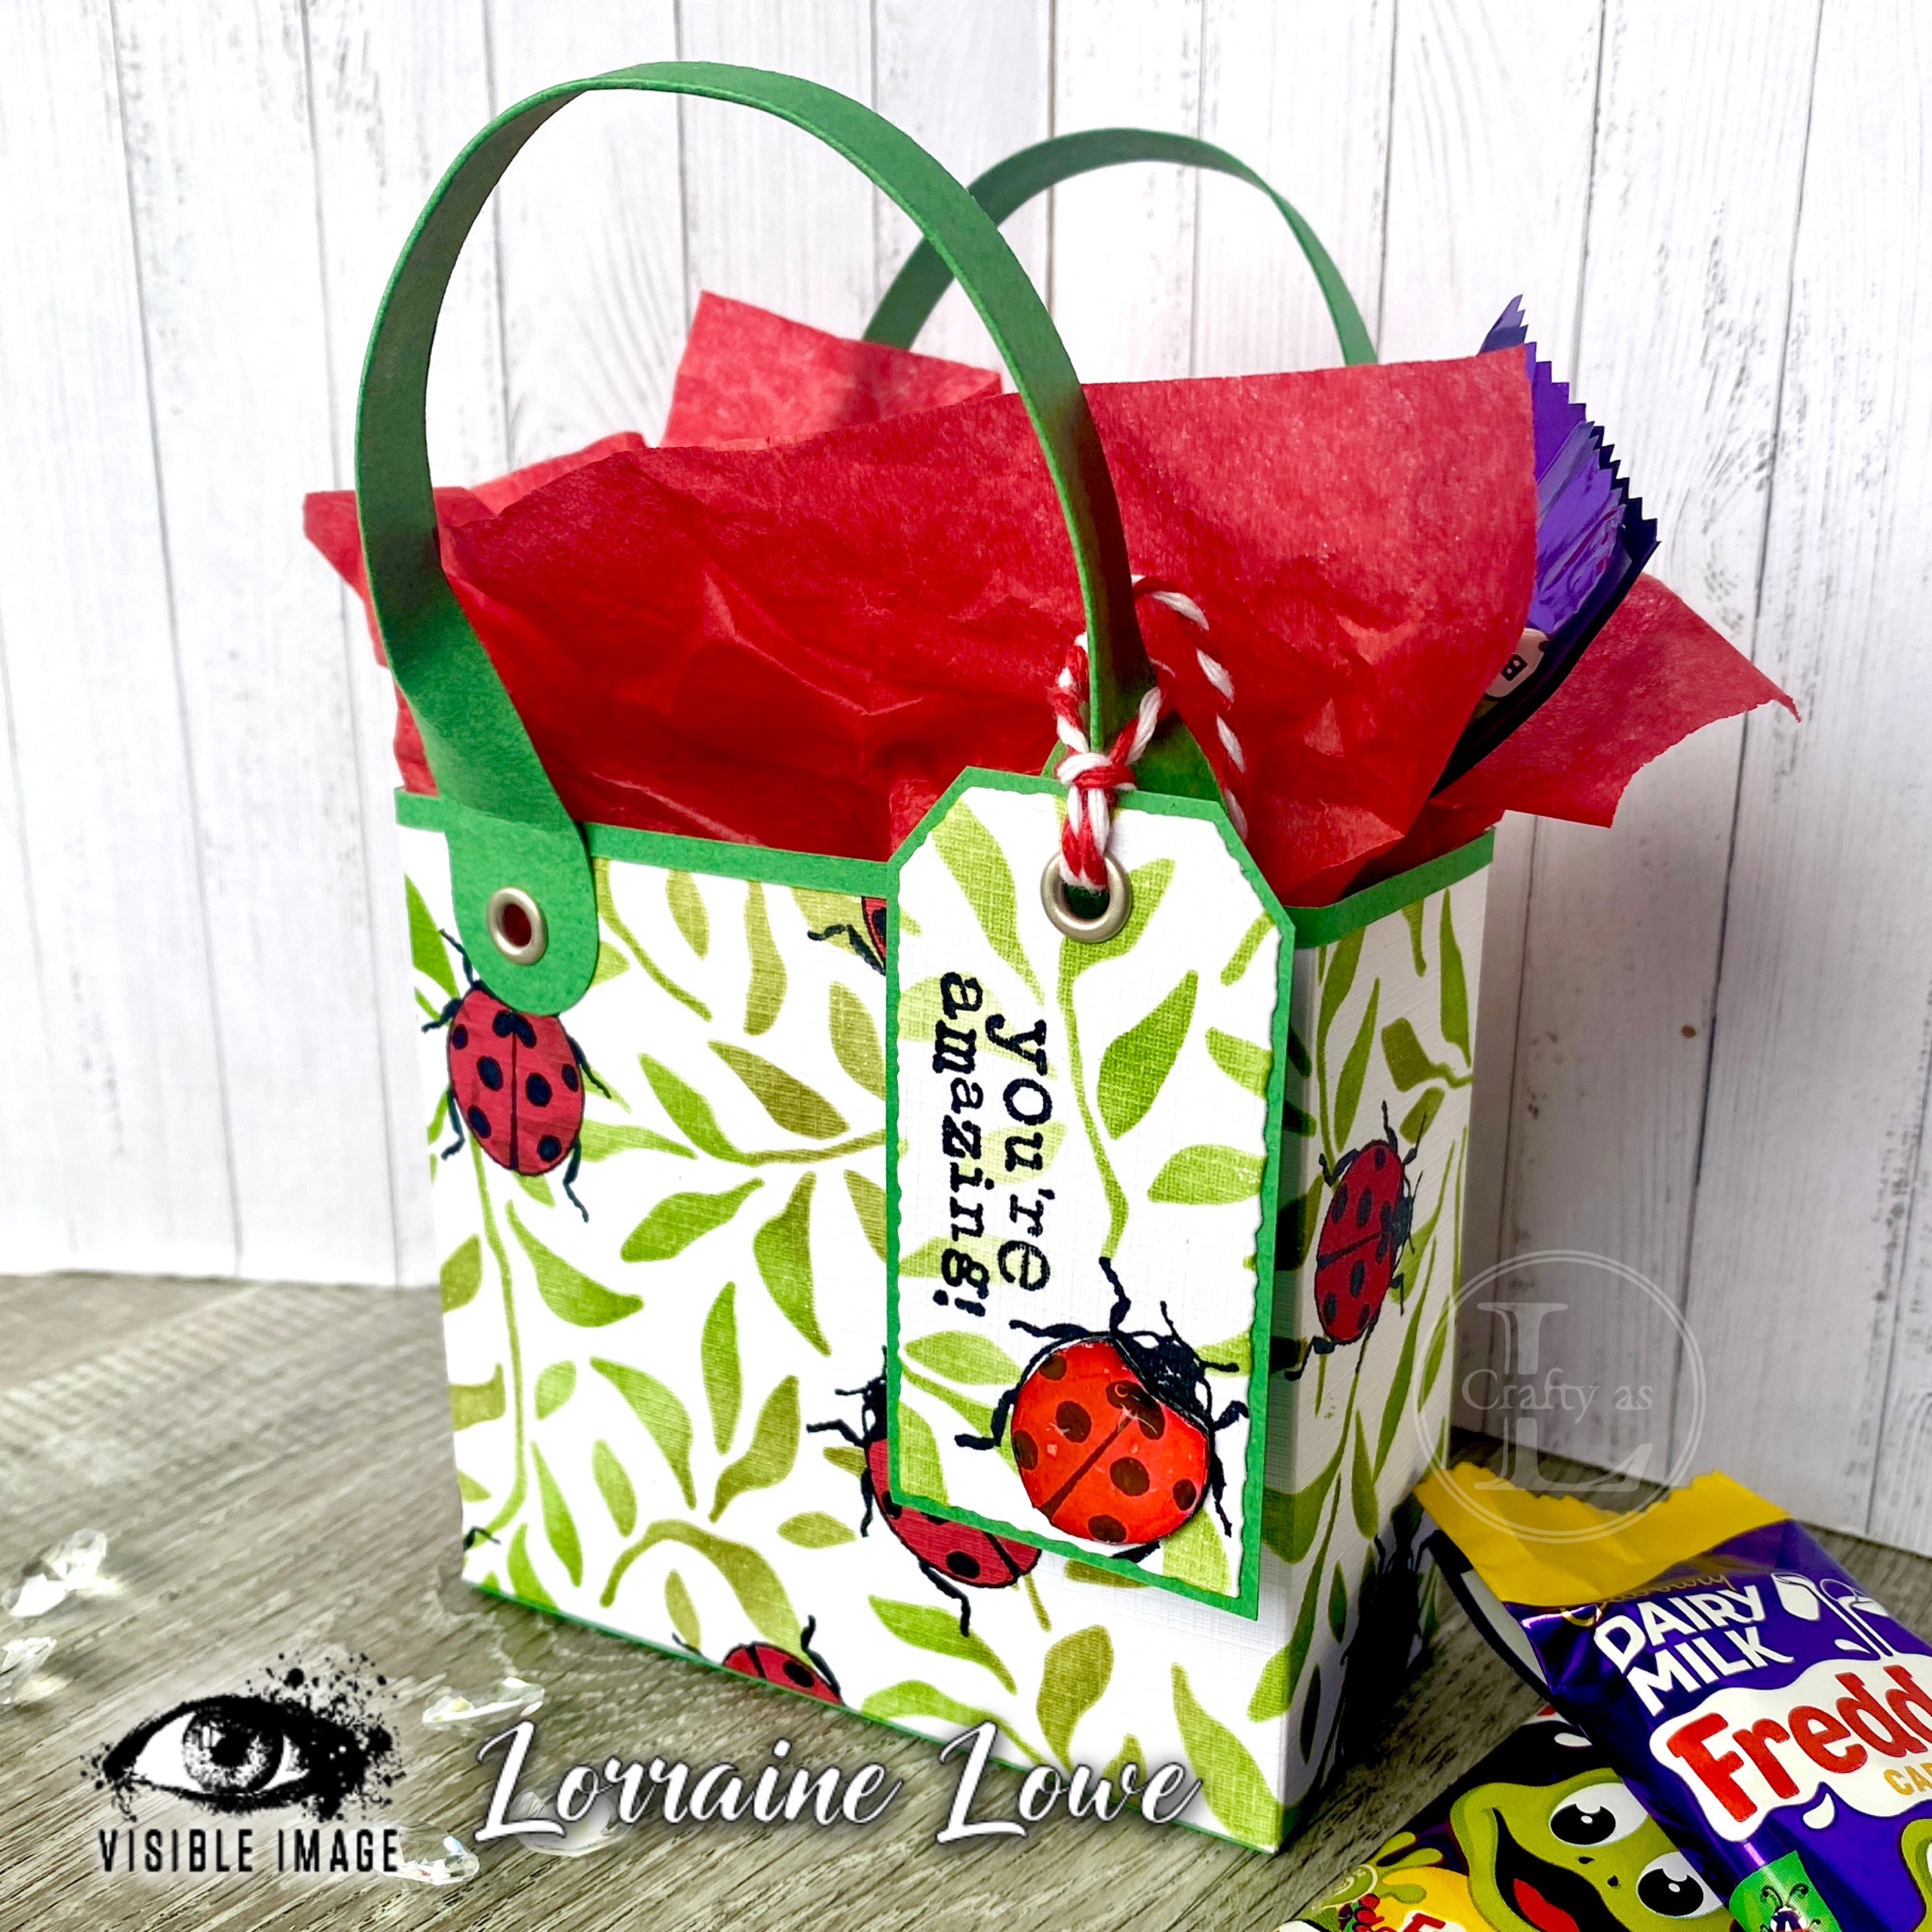
To finish off, I made a little tag, attaching a ladybird body onto which I’d applied several coats of Clear Nuvo Drops so it had lots of dimension. The sentiment is from One Kind Word.


Comments
Post a Comment